


'%3e%3cpath%20d='M17.5%208.75C17.5%2013.58%2013.58%2017.5%208.75%2017.5C3.92%2017.5%200%2013.58%200%208.75C0%203.92%203.92%200%208.75%200C13.58%200%2017.5%203.92%2017.5%208.75Z'%20fill='%23F56708'/%3e%3cpath%20d='M13.2123%2010.85H12.7048C11.9698%2012.915%2011.5498%2013.125%2010.4473%2013.125H8.22482C7.62982%2013.125%207.27982%2012.8275%207.27982%2012.215V9.065C10.1498%209.065%2010.0098%208.9425%2010.3248%2010.535H10.9023C10.8848%209.9925%2010.8673%209.205%2010.8673%208.6975C10.8673%208.2075%2010.8848%207.4375%2010.9373%206.79H10.3598C10.0448%208.4875%2010.2023%208.33%207.29732%208.3475V4.6025C7.29732%204.4275%207.34982%204.375%207.52482%204.375H10.6573C11.3573%204.375%2011.6898%204.83%2012.0398%206.475H12.5823L12.7573%203.5C11.3748%203.64%2010.4123%203.64%208.73232%203.64C7.03482%203.64%205.59982%203.6225%204.00732%203.5525V4.235C5.26732%204.375%205.40732%204.55%205.42482%205.11C5.45982%205.88%205.47732%207.42%205.47732%208.715C5.47732%2010.0275%205.47732%2011.585%205.44232%2012.3725C5.40732%2012.9325%205.28482%2013.1075%204.02482%2013.2475V13.93C4.75982%2013.8775%206.64982%2013.86%208.36482%2013.86C8.97732%2013.86%2010.1498%2013.825%2012.8623%2013.93L13.2123%2010.85Z'%20fill='white'/%3e%3c/g%3e%3cdefs%3e%3cclipPath%20id='clip0_2416_2431'%3e%3crect%20width='17.5'%20height='17.5'%20fill='white'/%3e%3c/clipPath%3e%3c/defs%3e%3c/svg%3e)
%20scale(1.1)'%20fill='%23FFFFFF'%3e%3cpath%20d='M22.655%208.719c-1.802-1.801-4.726-1.801-6.564%200l-7.351%207.35c-.45.45-.45%201.2%200%201.65.45.449%201.2.449%201.65%200l7.351-7.351c.899-.899%202.362-.899%203.264%200%20.9.9.9%202.364%200%203.264l-7.239%207.239c.9.899%202.362.899%203.263%200l5.589-5.589c1.836-1.838%201.836-4.763.037-6.563zm-2.475%202.437c-.451-.45-1.201-.45-1.65%200l-7.354%207.389c-.9.899-2.361.899-3.262%200-.45-.45-1.2-.45-1.65%200s-.45%201.2%200%201.649c1.801%201.801%204.726%201.801%206.564%200l7.351-7.35c.449-.487.449-1.239.001-1.688zm-2.439-7.35c-1.801-1.801-4.726-1.801-6.564%200l-7.351%207.351c-.45.449-.45%201.199%200%201.649s1.2.45%201.65%200l7.395-7.351c.9-.899%202.371-.899%203.27%200%20.451.45%201.201.45%201.65%200%20.421-.487.421-1.199-.029-1.649h-.021zm-2.475%202.437c-.45-.45-1.2-.45-1.65%200l-7.351%207.389c-.899.9-2.363.9-3.265%200-.9-.899-.9-2.363%200-3.264l7.239-7.239c-.9-.9-2.362-.9-3.263%200L1.35%208.719c-1.8%201.8-1.8%204.725%200%206.563%201.801%201.801%204.725%201.801%206.564%200l7.35-7.351c.451-.488.451-1.238%200-1.688h.002z'/%3e%3c/g%3e%3c/svg%3e)

Blog /
Get Started: Set Up Designs & Templates
Get Started: Set Up Designs & Templates
 Louie · June 04, 2026
Get Started: Set Up Designs & Templates
The Design Center is where you curate everything your customers can use to personalize products — templates, graphics, fonts, and AI filters.
How Designs Work in Customthings
When a customer opens the customization editor, the design options they see are determined by what you've configured in the your Design Center section and assigned to each product.
🎯The workflow is: set up design assets in your Design Center → assign them to products in your Product settings.
There are four types of design assets you can manage: Editable Templates, Single-Element Images, Fonts, AI Filters.
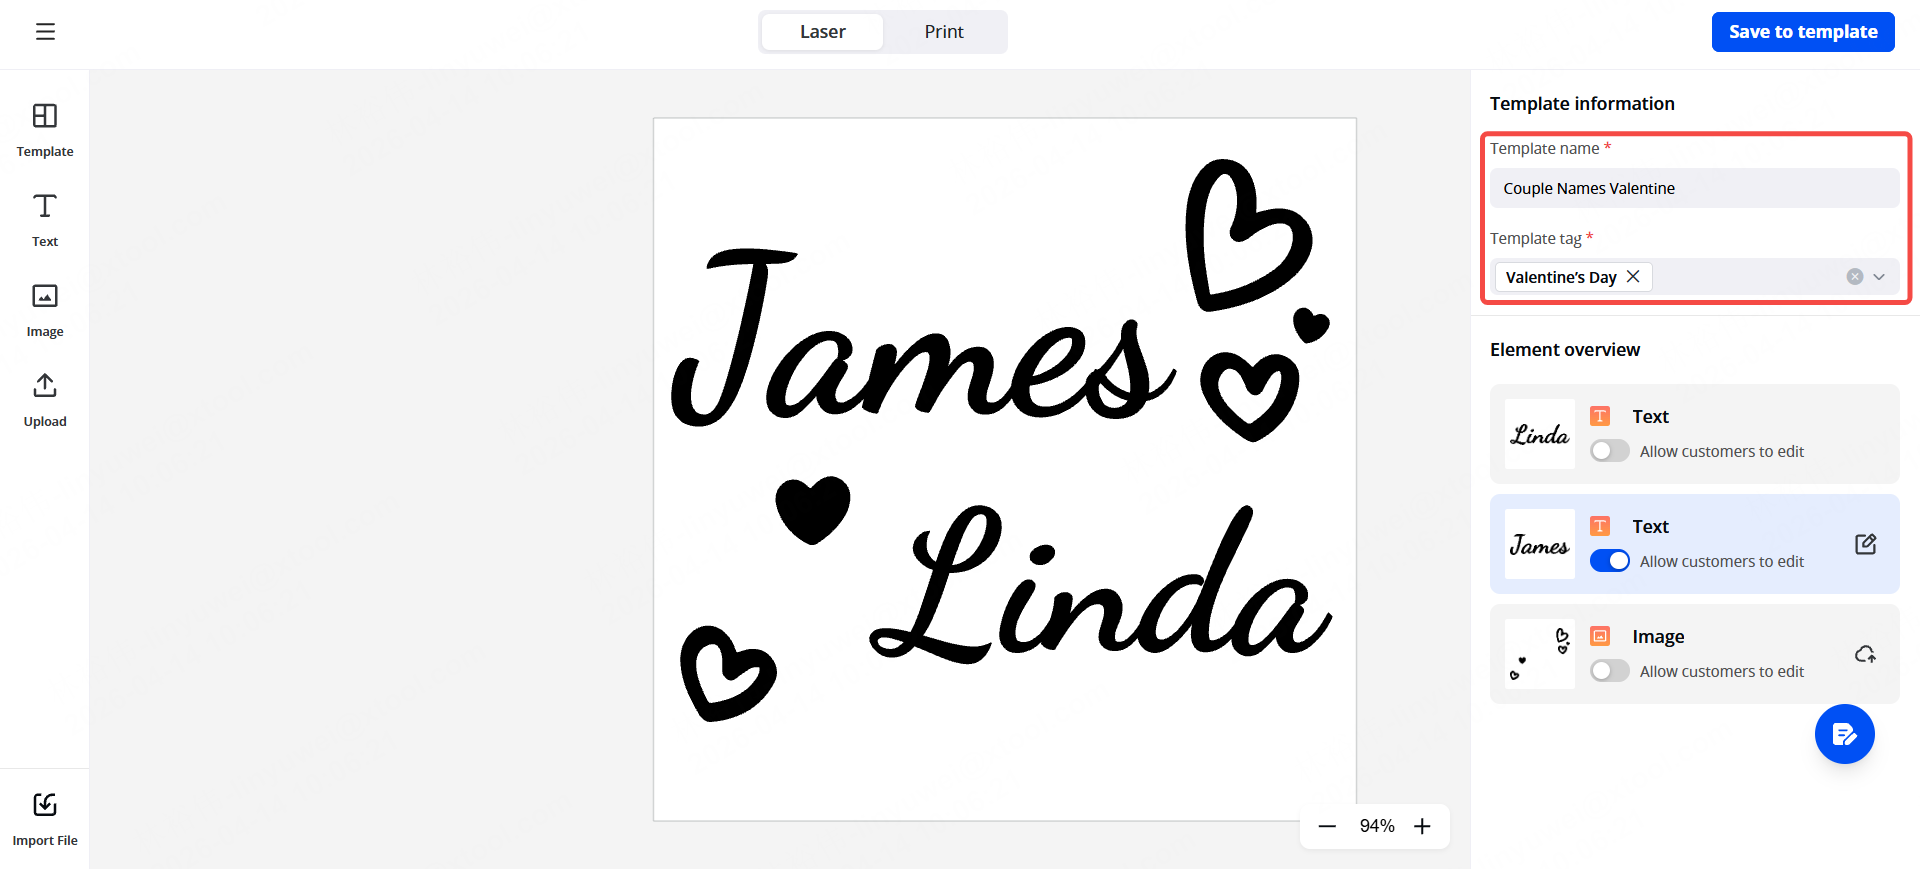
Type A: Editable Templates (Parametric Templates)
These are pre-designed layouts where individual elements — text, images, graphics — can be opened up for customer editing.
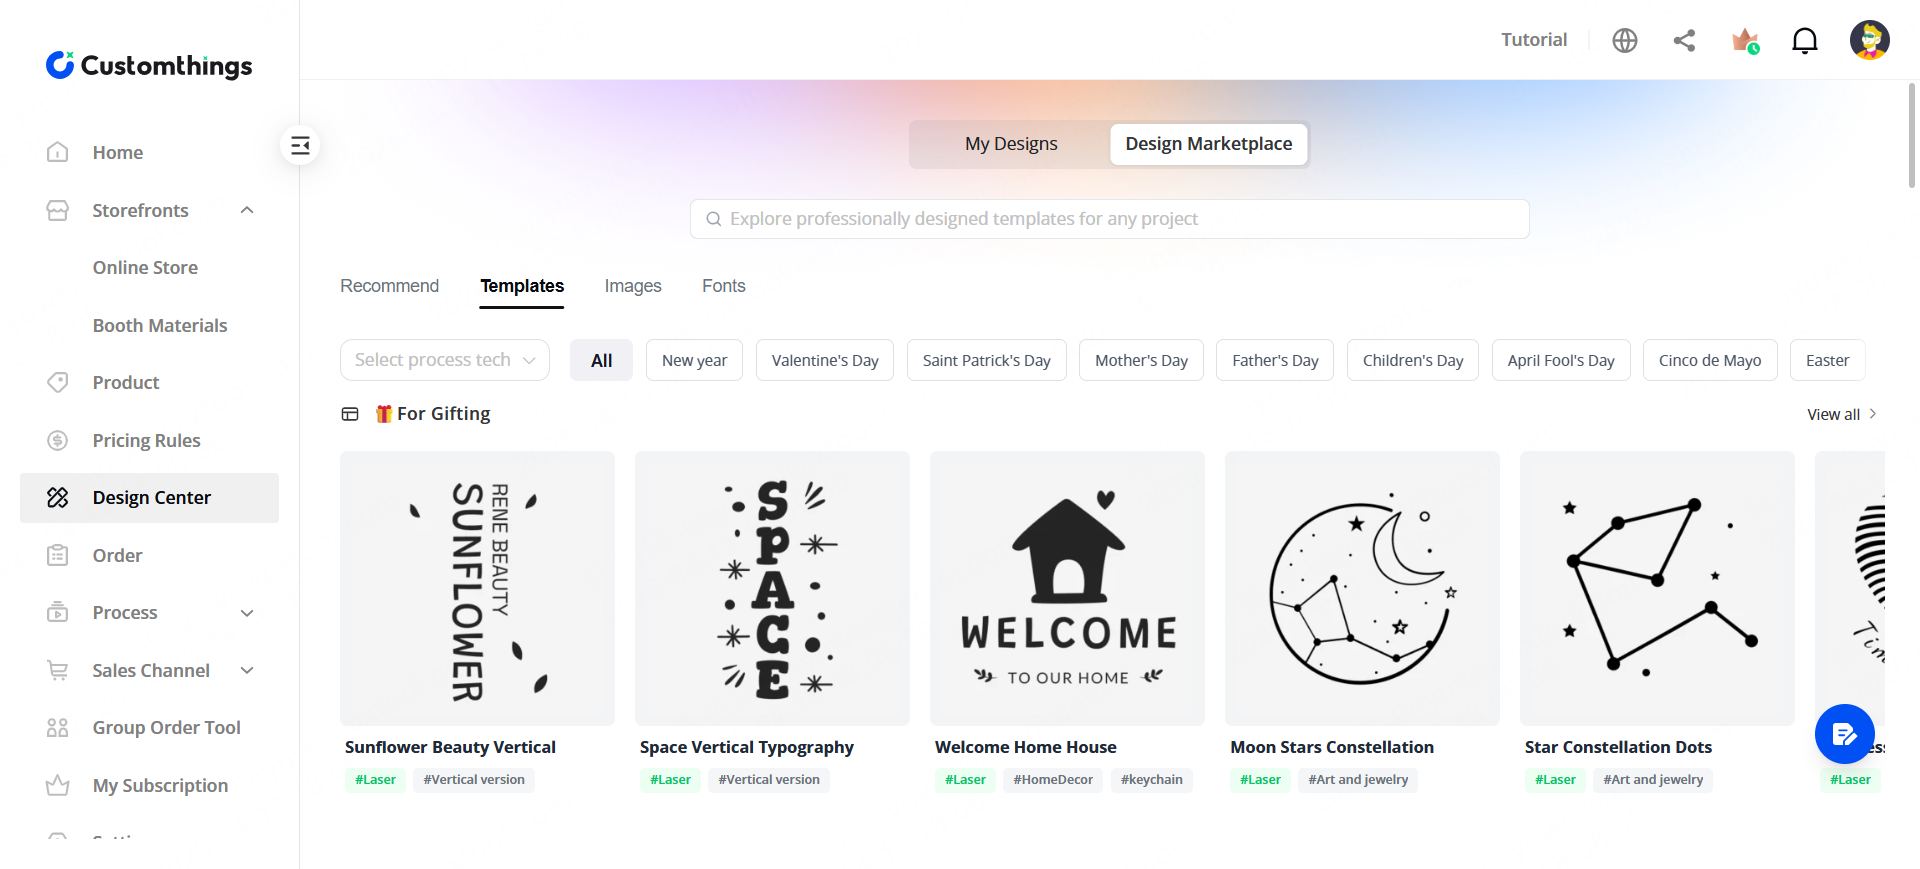
Method 1: Using the official template library
SETP1. Browse a large library of ready-made templates with built-in typography and visual composition.
There are 2 Ways to add templates:
Design Center > My Designs > Add template > Template
Design Center > Design Marketplace > Add to My Templates
SETP2. Each element in a template can be independently toggled
Make text editable, lock the background, let customers swap an image — your choice

SETP3. Set character limits for text fields (e.g., max 20 characters for a name)
SETP4. Add a name and tags to each template for easy organization
Method 2: Uploading your own templates:
1. Import XCS files from xTool Studio, or upload images and XCS files from your computer
2. The editor parses the file and identifies text and image elements automatically
3. Group elements together, then configure which groups are editable by the customer
4. Text elements can be opened for editing; image elements can be set as swappable.
Once configured, templates appear in your template library and can be assigned to any product.
Type B: Single-Element Images
Individual graphics — mostly vector assets — that customers can use as standalone design elements.
There are 2 ways to add images:
Design Center > My Designs > Images > Upload image
Design Center > Design Marketplace > Images > Add to My Images
The Design Marketplace syncs all elements from the xTool Studio library.
Customers can browse and apply these during customization.
You can also use them when building your own templates from scratch.
Type C: Font Management
Control which fonts your customers can use in the editor.
- The Design Marketplace in Design Center provides a library of free fonts
- Click Add to My Fonts to make a font available in your store's customization editor
- Customers will only see fonts you've explicitly added
Type D: AI Style Filters
Filters that transform customer-uploaded photos into stylized artwork — great for engraving and printing.
Two categories:
- Laser engraving filters — optimized for engraving output
- Print filters — more variety, including seasonal themes (Super Bowl, Valentine's Day, etc.)
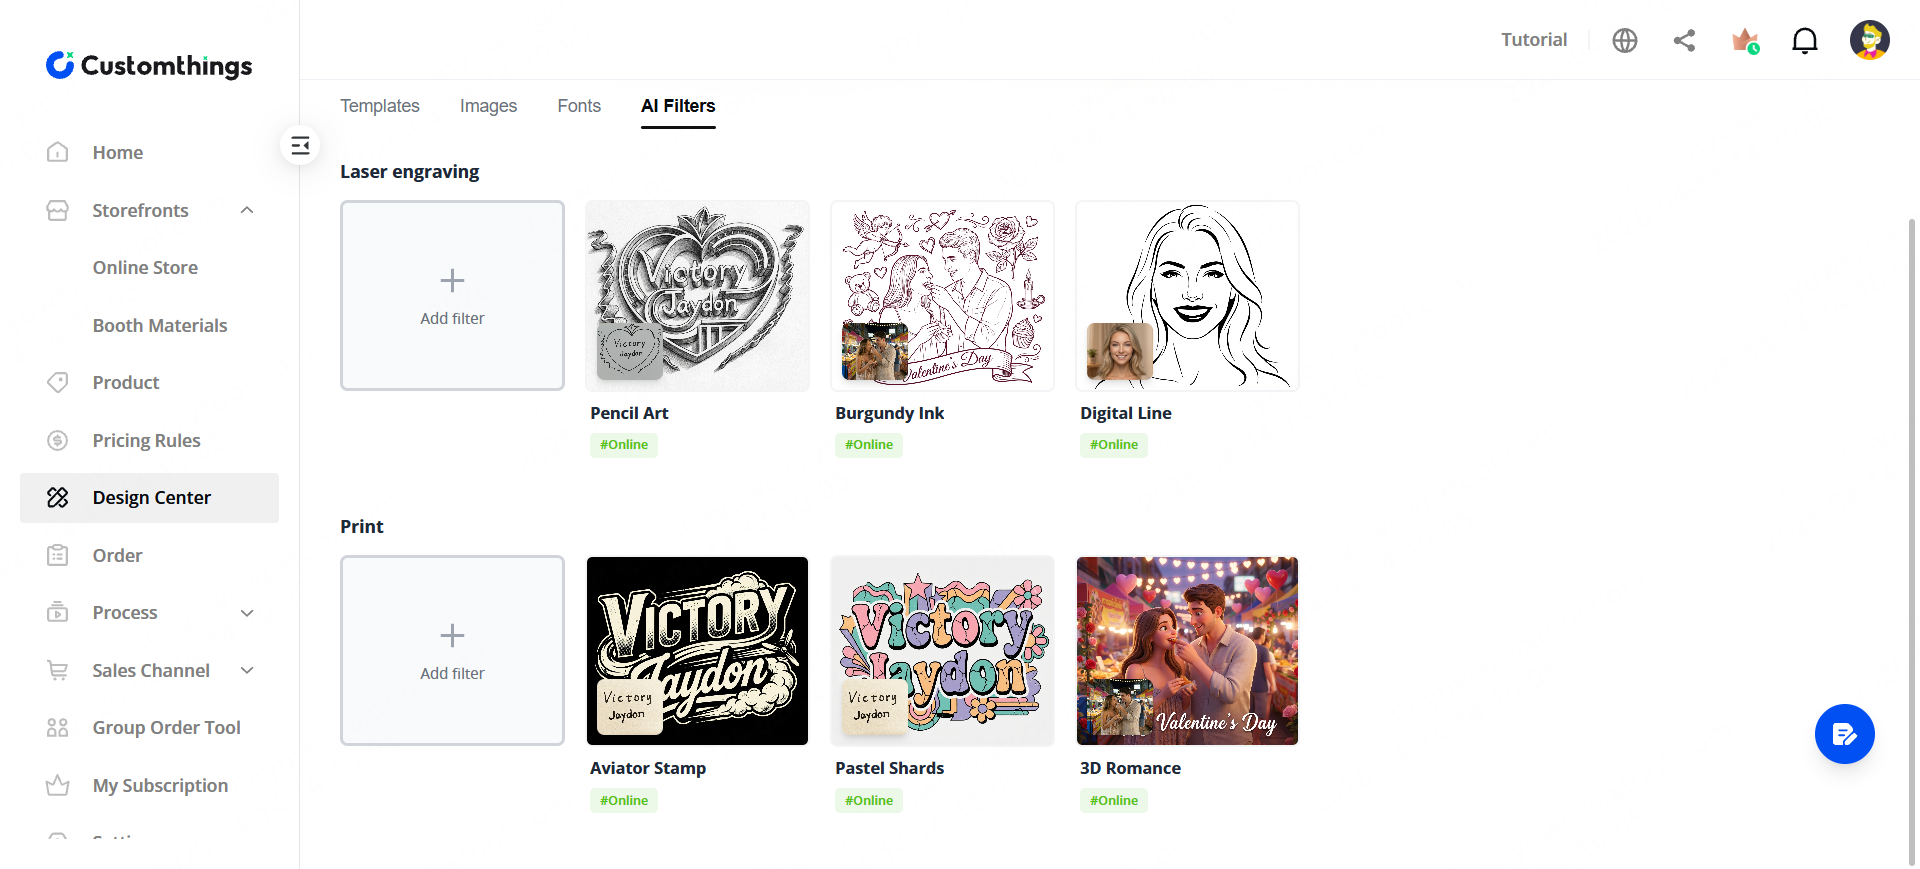
How it works:
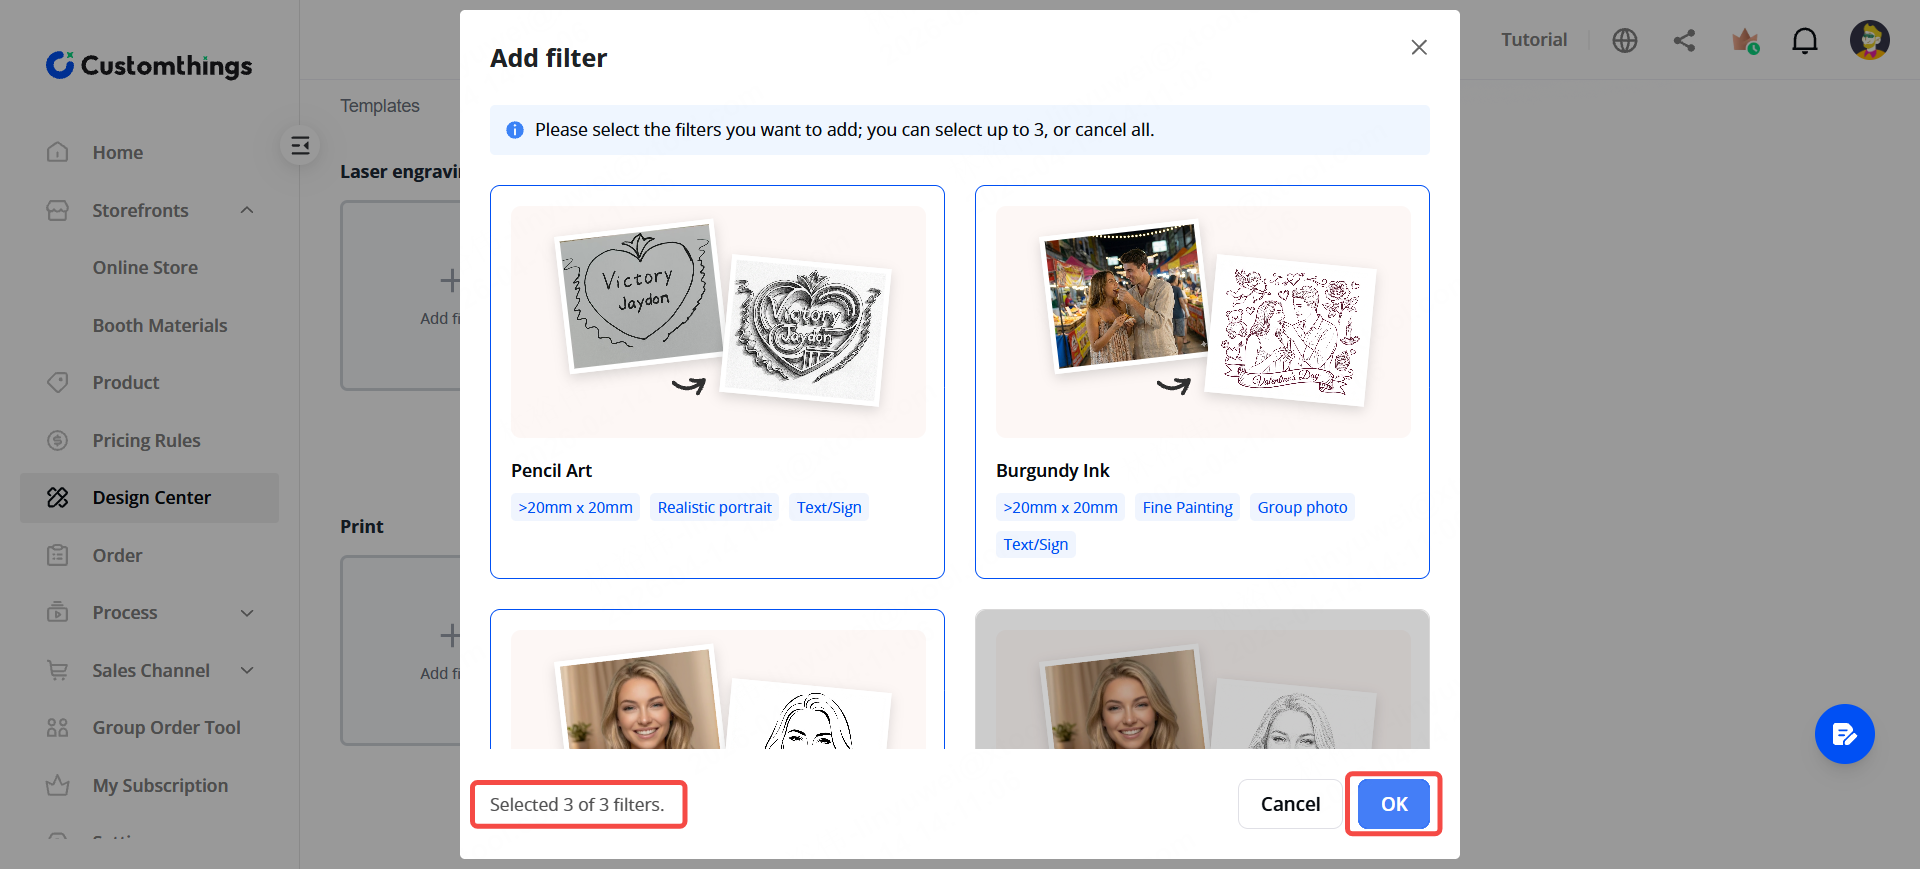
- In Design Center, browse available AI filters and add the ones you want to offer
- When a customer uploads a photo in the editor, they'll see your selected filters as styling options
- The customer picks a filter, the photo is transformed, and it becomes part of their order
Putting It All Together
Once you've set up your design assets:
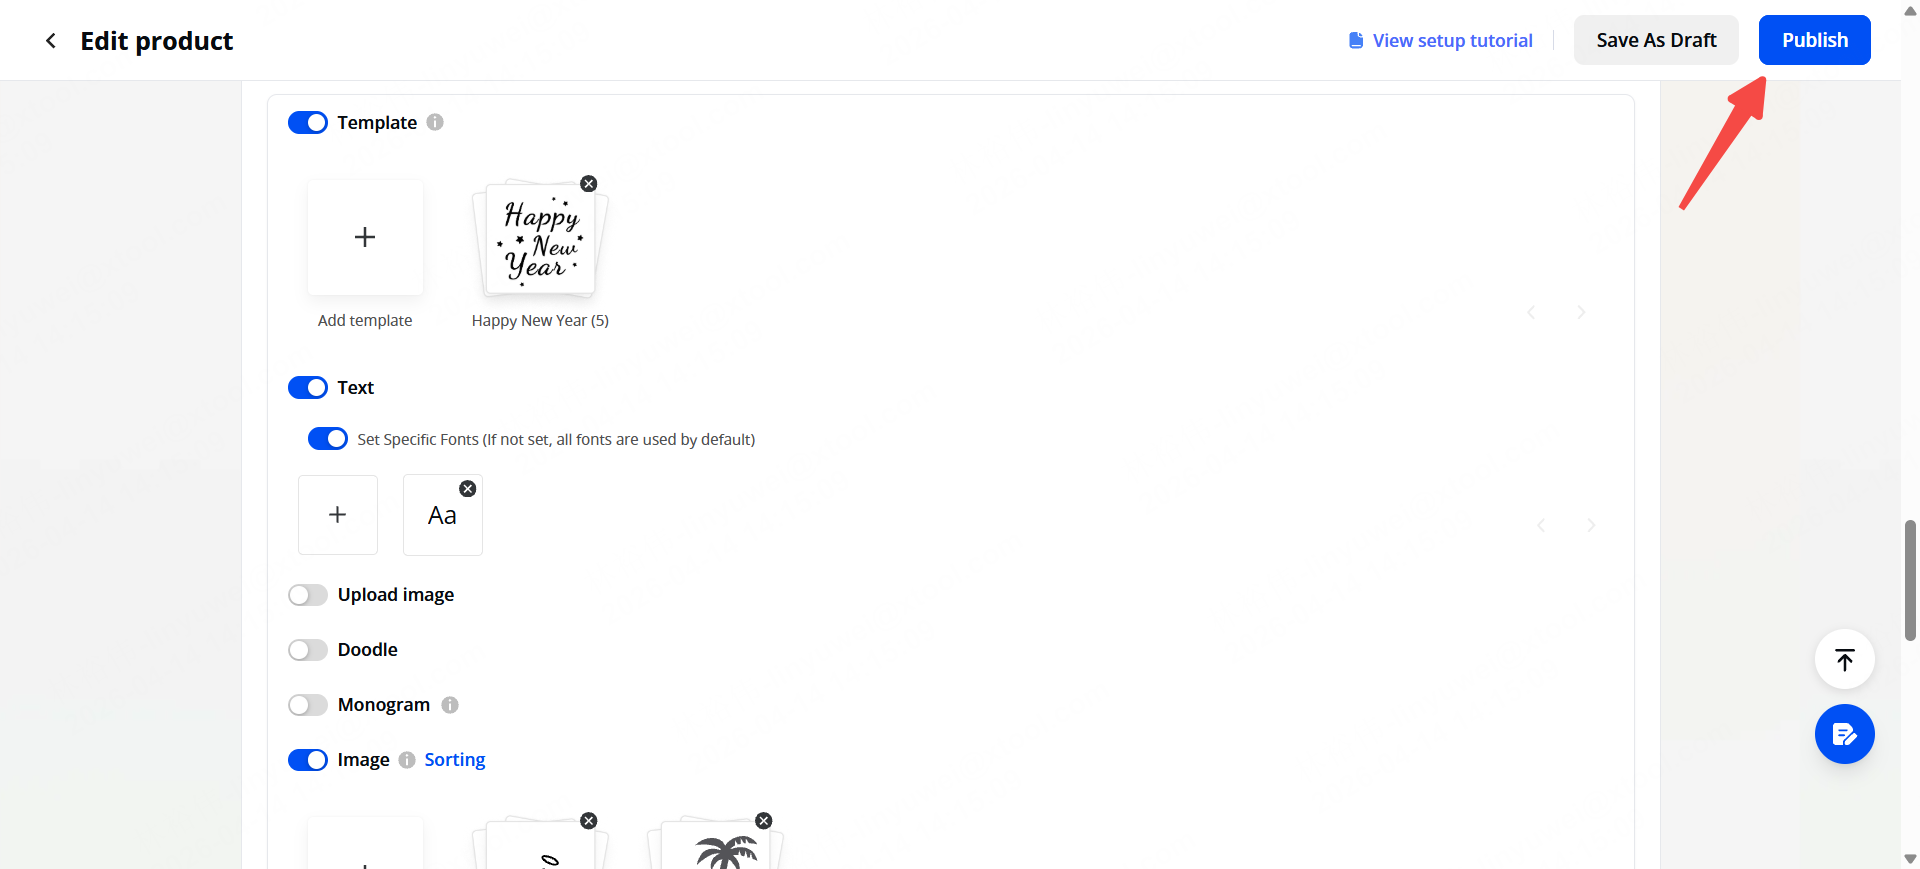
STEP1. Go to Product → open a customized product.
STEP2. In the Design setting section, assign templates, images, fonts, and filters to that product.
💡Assign templates and images using Tags.
Set font availability by choosing either the entire library or a specific subset for the product.
Configure AI filters in the Design Center—these are global settings that appear once a customer uploads a photo.
STEP3. Publish — your customers will now see those options when they customize
You can mix and match: one product might offer 5 templates and 2 AI filters, while another only allows free-form text and image upload.
Tips
- Start with the official template library. It's the fastest way to offer polished customization options without designing anything yourself.
- Less is more for new sellers. Don't overwhelm customers with 50 templates — pick 5–10 that match your product and brand.
- AI filters are a differentiator. They give customers a "wow" moment and are especially effective for photo-based products like engraved portraits or printed apparel.
- Leverage variable pricing. Configure Pricing Rules to automatically apply surcharges based on specific design types or quantities.
Next up → Connect Your Sales Channels
1